Creating a Valentine balloon bouquet is a heartfelt and affordable way to celebrate love. Whether it’s for your partner, a friend, or yourself, this fun DIY project can easily be accomplished with materials from Temu, a budget-friendly online marketplace. Here’s a step-by-step guide to help you create a stunning balloon bouquet.
Step 1: Gather Your Supplies
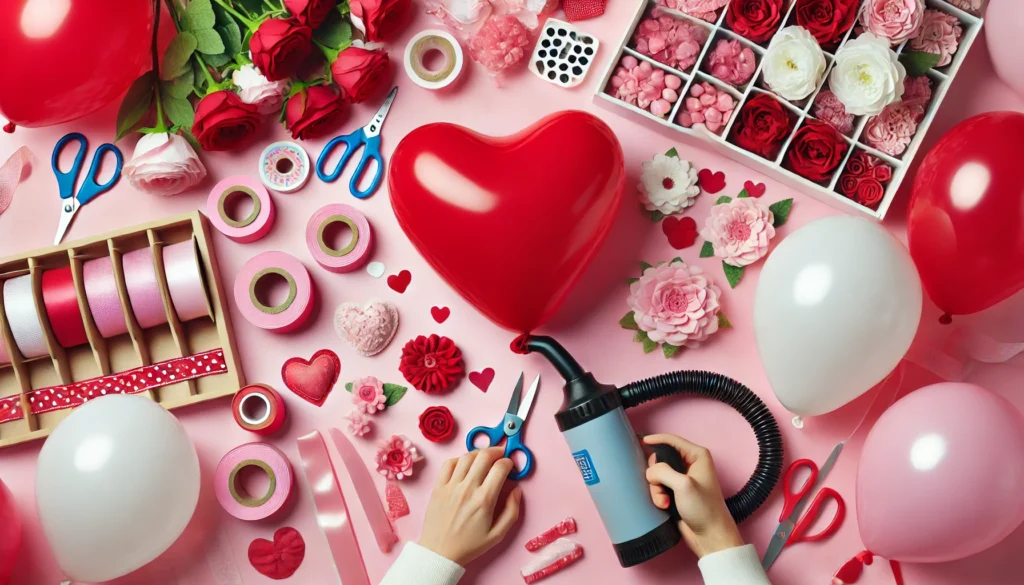
You’ll need the following items to create a beautiful Valentine’s balloon bouquet. Most can be sourced in Temu for a fraction of the price of other retailers:
Essential Items:
1. Balloons:
○ Heart-shaped balloons (foil and latex options) in red, pink, and white.
○ Example on Temu: Heart Foil Balloons Pack (assorted designs and sizes).
2. Balloon Weight:
○ A decorative balloon weight to anchor your bouquet.
○ Example on Temu: Glitter balloon weight.
3. Balloon Sticks or Ribbons:
○ Balloon sticks for handheld arrangements or curling ribbon for tying helium balloons.
○ Example on Temu: Ribbon Roll Set.
4. Inflation Tools:
○ A hand pump or mini electric balloon inflator for ease.
○ Example on Temu: Electric Balloon Pump.
5. Accessories:
○ Faux flowers, greenery, or Valentine’s-themed decorations.
○ Example on Temu: Valentine’s Décor Kit.
6. Adhesives:
○ Double-sided tape or glue dots to secure balloons and decorations.
○ Example on Temu: Adhesive Glue Dots for Balloons.
Step 2: Inflate Your Balloons
1. Blow up the latex and foil balloons using the balloon pump or inflator. Inflate them to varying sizes for depth and dimension in your bouquet.
○ Tip: Don’t overinflate to avoid popping!
2. Tie off each balloon with a curling ribbon or attach them to balloon sticks, depending on your chosen style.
Step 3: Arrange the Balloons
Now that your balloons are ready, it’s time to assemble your bouquet.
For Helium Balloons:
1. Start with the largest foil balloons as the centerpiece. Tie them securely to the balloon weight.
2. Add latex balloons around the foil ones, alternating colors and sizes for visual interest.
3. Curl the ribbons hanging from the balloons to add a festive touch.
For air-filled balloons (Stick-Based):
1. Attach balloons to the balloon sticks.
2. Cluster the sticks together, positioning larger balloons in the center and smaller ones around the edges.
3. Secure the sticks with tape or a decorative wrap at the base.

Step 4: Add Decorations
Enhance your bouquet with themed accents:
● Attach faux flowers or greenery to the bouquet base.
● Add Valentine’s ‘ ‘-themed stickers or mini cards to the balloons for a personal touch.
● Use LED string lights to wrap around the bouquet for an extra romantic vibe.
Step 5: Final Touches
1. Place the bouquet in a decorative vase or gift box for added stability.
○ Example on Temu: Gift Box with Ribbon.
2. Add a handwritten Valentine’s card or a small gift like chocolates or jewelry to complete the presentation.
Step 6: Enjoy or Gift Your Creation!
Your Valentine’s balloon bouquet is now ready to impress! Whether you’re presenting it in person or using it as a decoration for a romantic evening, this thoughtful DIY project will leave a lasting impression.
Bonus Tip: Save Time with Temu Kits
If you’re short on time, Temu also offers pre-packaged balloon bouquet kits with all the essentials included. Check out options like the Valentine’s Day balloon bundle for a quick and easy solution.
By using affordable materials and adding your flair, you can create a stunning balloon bouquet that’s as unique as your love. Have fun crafting and happy Valentine’s Day! ❤️